

How to Set Up Your New Code Signing Hardware Token (A Step-by-Step Guide)

 (6 votes, average: 5.00 out of 5)
The industry’s security standards body now requires all code signing certificate private keys to be stored on secure hardware. This comprehensive guide walks through the process of setting up your secure USB token.
We recently shared that the industry’s standards body (i.e., the CA/B Forum) updated its Code Signing Certificate Baseline Requirements. As of June 1, 2023, all publicly trusted code signing certificates’ keys must be stored on cryptographically secure hardware (USB tokens, hardware security modules [HSMs], etc.).
The goal here is to help organizations better secure their code signing certificates and keys against cybercriminals. Of course, certificate authorities (CAs) approach this secure key storage requirement differently by having different code signing certificate provisioning requirements:
- Some CAs (Sectigo and Comodo) choose to send pre-configured USB tokens (i.e., tokens that have the certificate and keys imported already). Here’s a quick video that walks you through the process of setting up a Sectigo Code Signing Certificate token:
- Other CAs (DigiCert and GoGetSSL) send a blank USB token so you can carry out the keygen and certificate import process yourself for greater security. Knowing this, we’ve put together a video (below) and a step-by-step guide with screenshots that will walk you through how to set up a new DigiCert code signing certificate USB token from CodeSigningStore.com.
We’ll assume you’ve already purchased a DigiCert code signing certificate and have your blank USB token in hand. Now, you can follow along with this guide to ensure you properly set up your new secure token.

Save 27% – DigiCert Code Signing Certificate
Enhance your code’s integrity and boost user confidence through digital “shrink-wrapping” using a DigiCert Code Signing Certificate.
Step One: Access Your Account Details
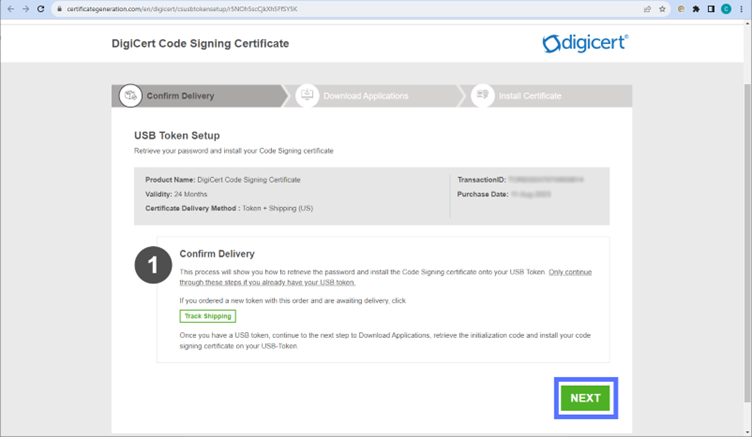
Go to your Orders page and access the order for your new code signing certificate. There, you’ll find a button that’ll allow you to start the process of setting up your USB token. This will take you to a separate website (CertificateGeneration.com), where you’ll go through the set-up wizard.
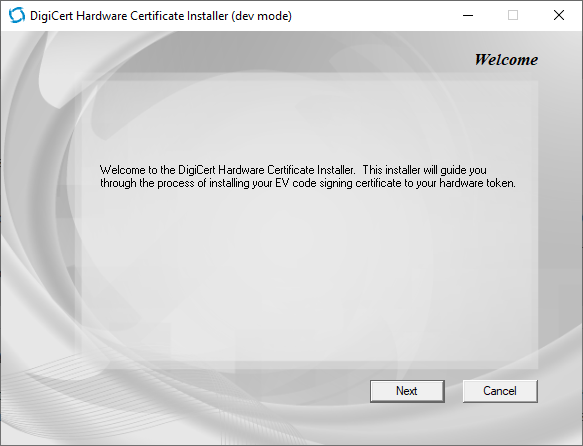
This first step involves confirming that you’ve received your secure token. Hit Next to continue, as shown below.
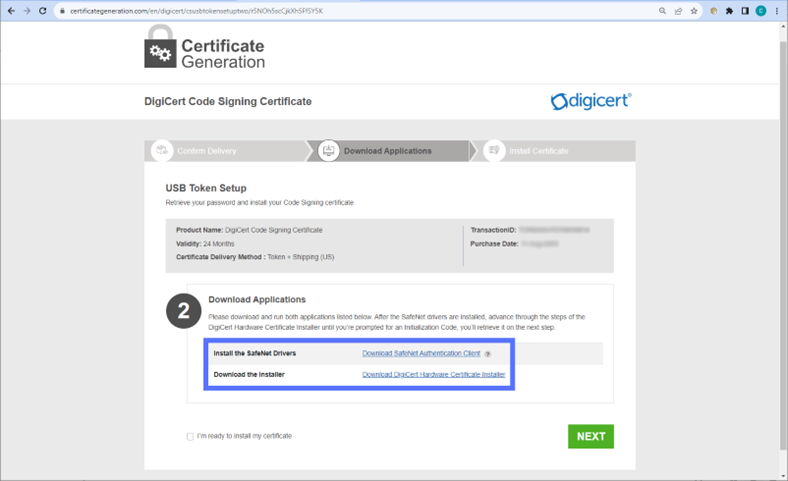
Step Two: Download the Authentication and Hardware Installer Tools
Before you can set up or use the code signing certificate, you first must download and install two specific tools that will allow you to set up your secure hardware token. Click on the first link (Download SafeNet Authentication Client) and you’ll be taken to another website.
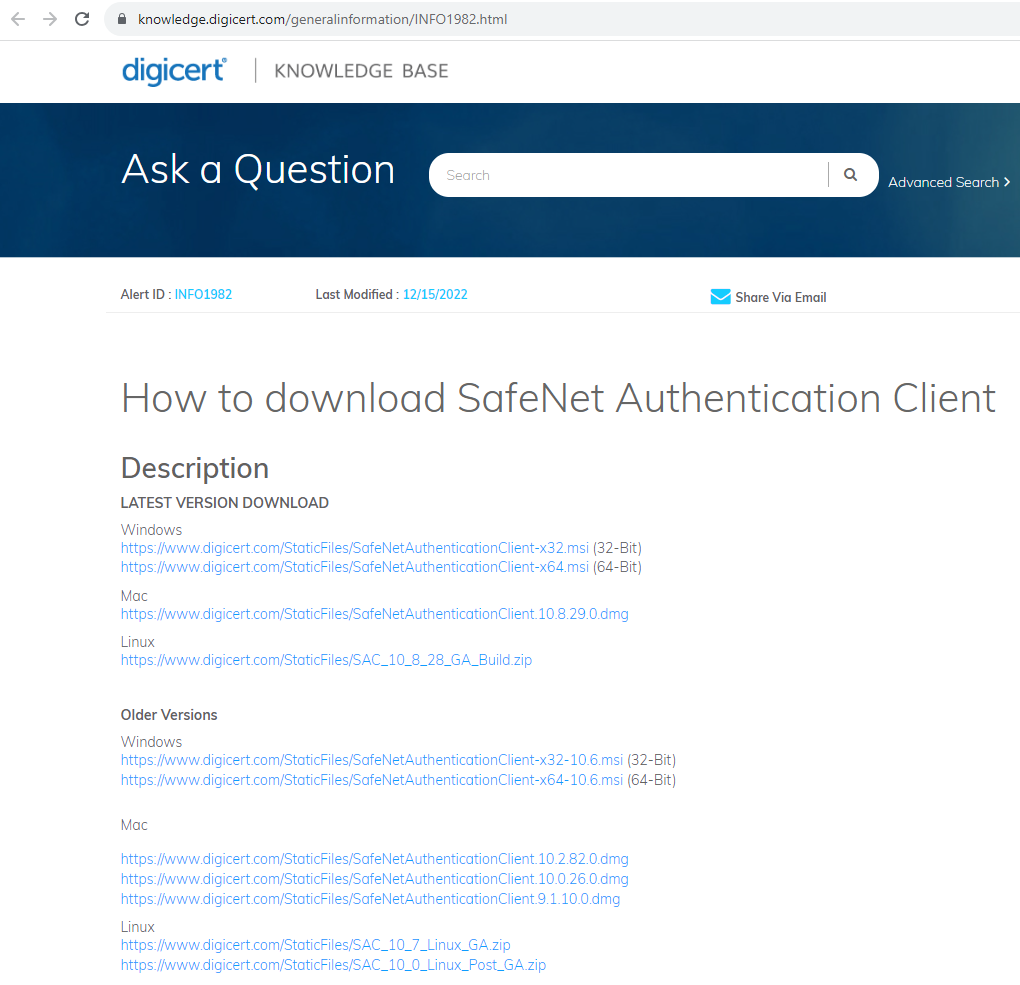
How to Install the Authentication Client
Select the version of the SafeNet Authentication Client software you want to install. In this example, we’ve selected the latest version of the 64-bit Windows client.
This will open the SafeNet Authentication Client Setup Wizard.
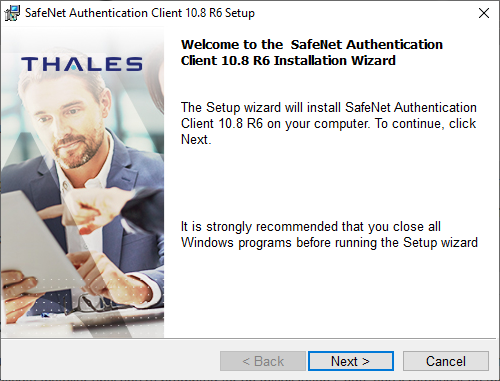
In the next three screens, you’ll want to:
- Select your language,
- Accept the license agreement, and
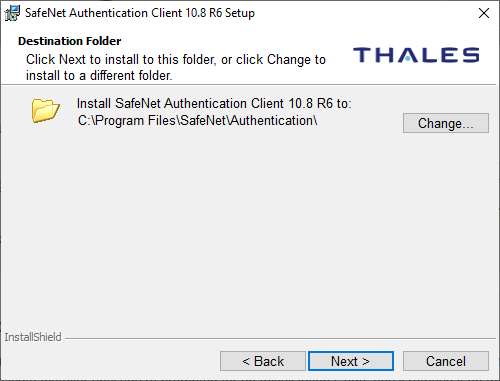
- Select the file path where you want to install the software. If you go with the default location, it’ll save it to C:\Programs\SafeNet\Authentication:
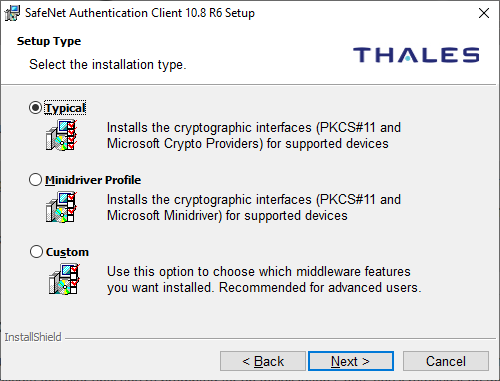
In most cases, you’ll want to select the Typical option, as shown below.
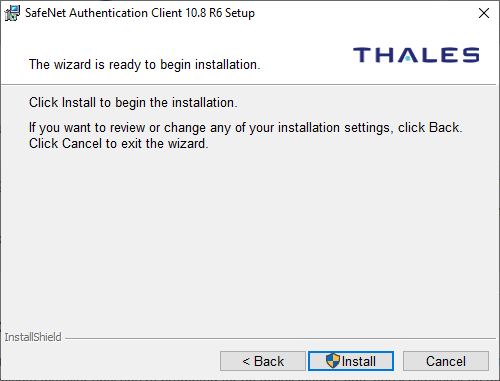
Now, it’s time to Install the client.
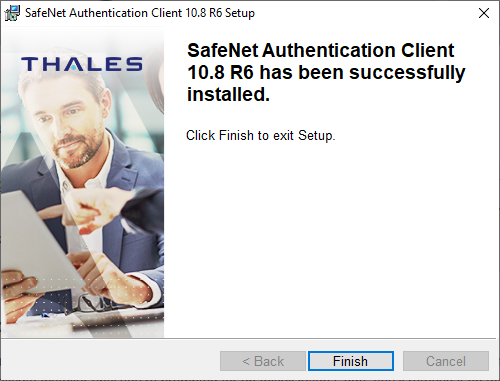
Once complete, hit the Finish button.
How to Install the DigiCert Certificate Hardware Installer Tool
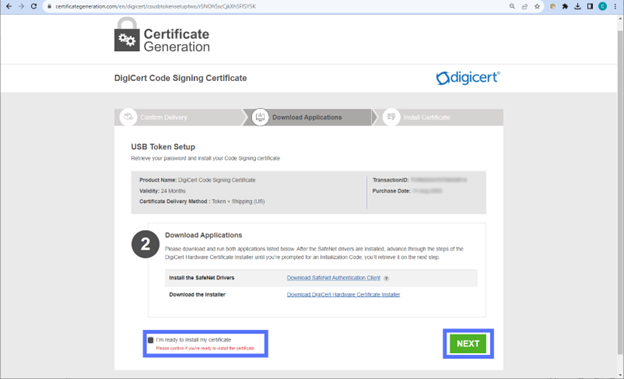
Return to the Download Applications tab of the CertificateGeneration.com screen. Here, you’ll next select the Download DigiCert Certificate Hardware Installer.
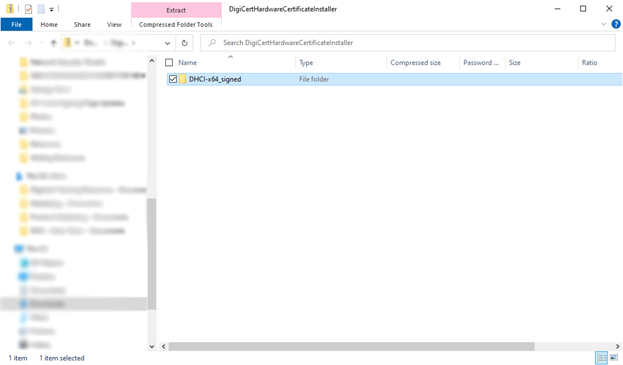
Once the .zip file download is complete, go to the folder where you’ve saved it.(It should be labeled something akin to DHCI-x64-signed.) Open the folder and double-click on the installer application inside.
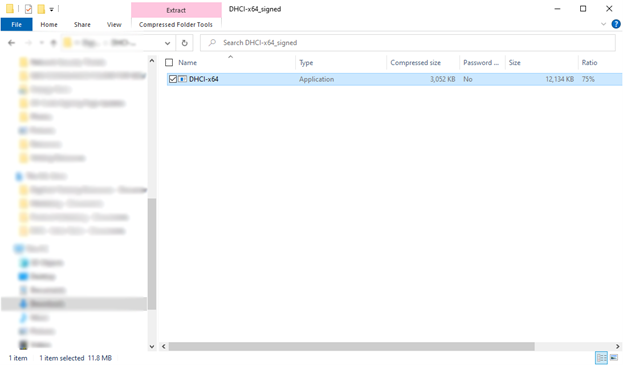
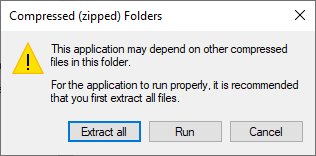
A pop-up will ask you to extract all of the compressed files. Hit Extract All and choose the folder where you want those files to go.
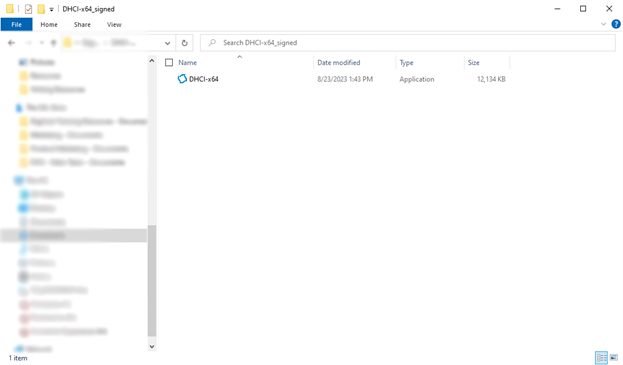
After that’s finished, open the folder and double-click on the application inside.

Double-click the application. This will bring up a new installer wizard window.
This installer wizard is what you’ll see when you install an extended validation (EV) code signing certificate. However, this process is the same for standard code signing certificates as well. Hit Next to continue.
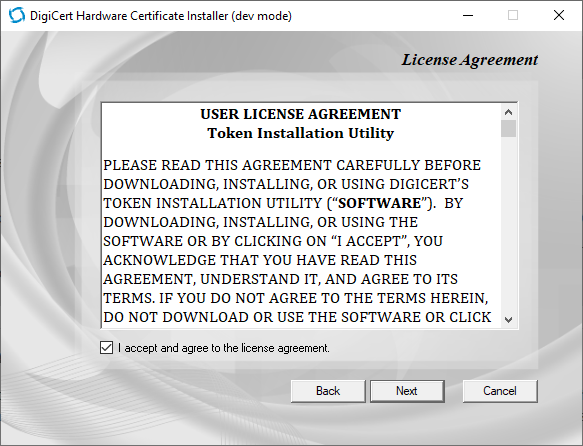
Accept the license agreement terms and hit Next again to continue.
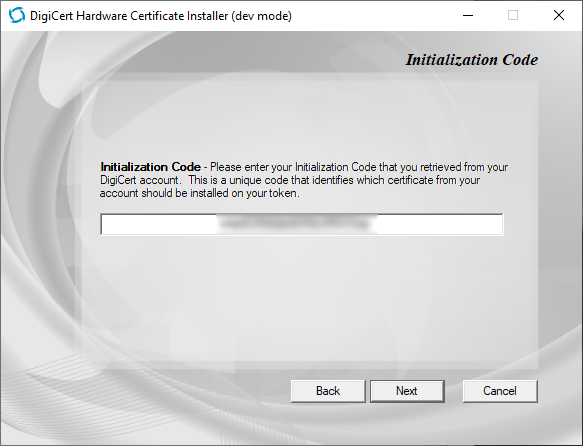
This next screen will prompt you to provide an Initialization Code. You’ll be able to find this code by switching back to the CertificateGeneration.com screen, checking the box labeled I’m ready to install my certificate, and hitting Next. (The initialization code will be found two screens from now.)
Step Three: Set Up the Token’s Password and Install Your Certificate and Key
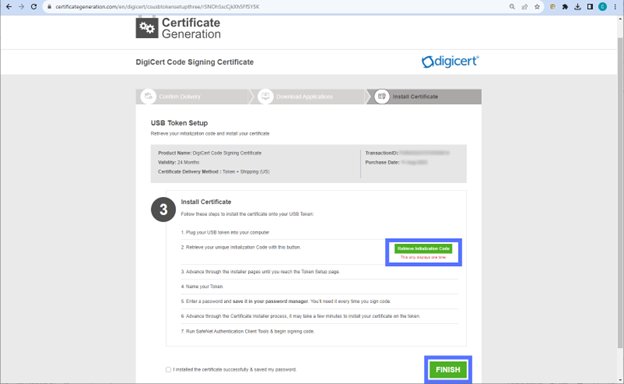
To start the process of installing your certificate, you’ll need to follow some additional steps (shown below). These steps include plugging in your USB token to your computer and then retrieving the Initialization Code by pressing the green Retrieve Initialization Code button (as shown below).
NOTE: You’ll only be able to display it once; be sure to copy-paste it into a Notepad doc or somewhere else you can access it later, if needed.
Navigate back to the DigiCert Hardware Certificate Installer window (shown below). Here, you’ll be prompted to paste the provided initialization code. Hit Next to continue.
Set Up Your Token’s Password
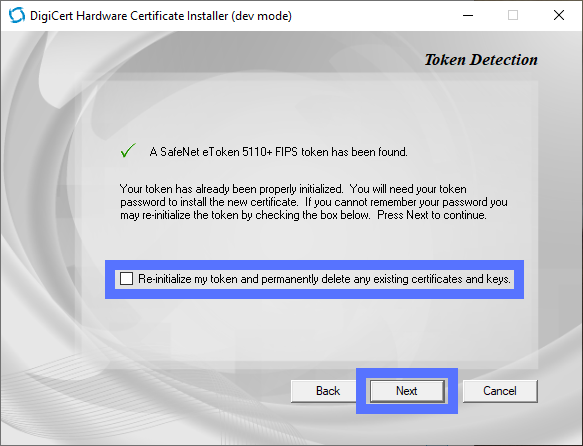
Now, you should see a message stating that your USB token has been located (as shown below). If you’re setting up the token for the first time, you’ll need to check the box labeled “Re-initialize my token and permanently delete any existing certificates and keys.” This will take you to a screen where you can set up a username and password to protect the hardware token from unauthorized use.
Be sure to write down your password and store it securely. (Do not use sticky notes or leave this information out in the open!) You’ll need this password in combination with your USB token to digitally sign software and code.
NOTE: You’ll also use this option if you need to delete and re-issue your current code signing certificate and key pair due to a security issue or certificate mis-issuance.
If your private key gets compromised, then whoever has access to it can use it to sign malware in your name. Surely, you can imagine how bad things will be if this were to happen…
But let’s not focus on that at the moment. Hit Next to continue setting up your token.
Generate Your Private Signing Key
Here, you’ll want to choose the type of signing key you want to generate. In this case, we’ll choose an ECC (elliptic curve cryptography) key with the key size P-384. Hit Next to move on to the last step.
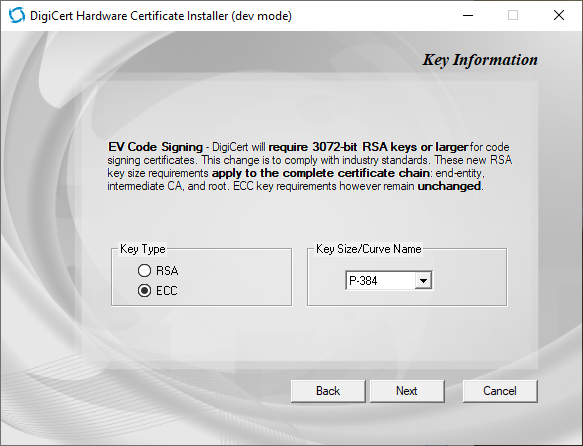
IMPORTANT: Are you planning to use this code signing certificate for ClickOnce manifest signing in Visual Studio? (Or for signing software using Visual Studio in general?) Then you’ll want to select an 3072-bit RSA key for your certificate instead. The reason for this is that ECC certificates are not currently supported in Visual Studio.
Import Your Code Signing Certificate onto the USB Secure Hardware Token
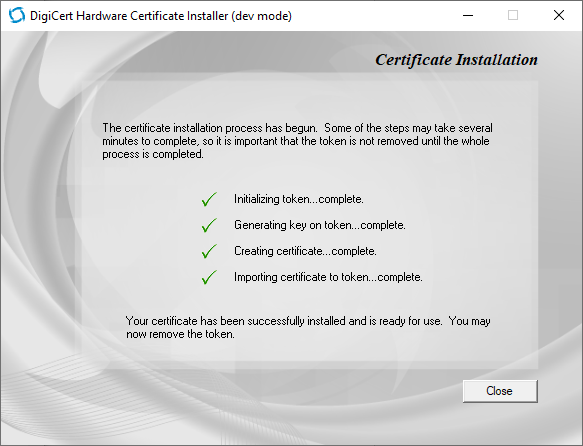
This will initiate the certificate installation process. The good news is that this step is relatively quick; less time than it takes to pour yourself a cup of coffee.
Once the process is complete, you should see a message at the bottom of the screen stating that the process has been completed successfully. Go this point, you can press Close to exit the screen.
Return to the CertificateGeneration.com window. Here, you’ll click the box for “I installed the certificate successfully & saved my password” and hit the green FINISH button.
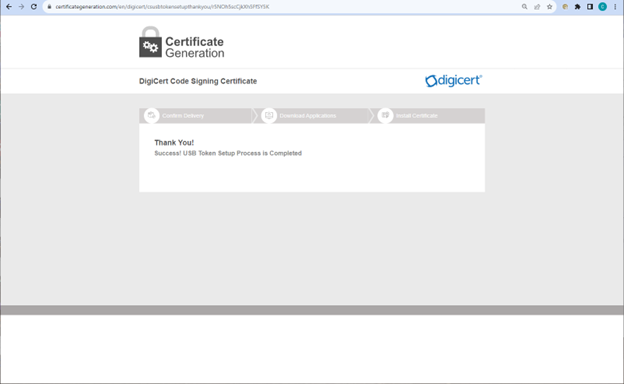
That’s it! You’ve now set up your secure USB token, generated your key, and imported your code signing certificate onto the device. It’s now ready for use to sign your software, codes, and other executables.
